
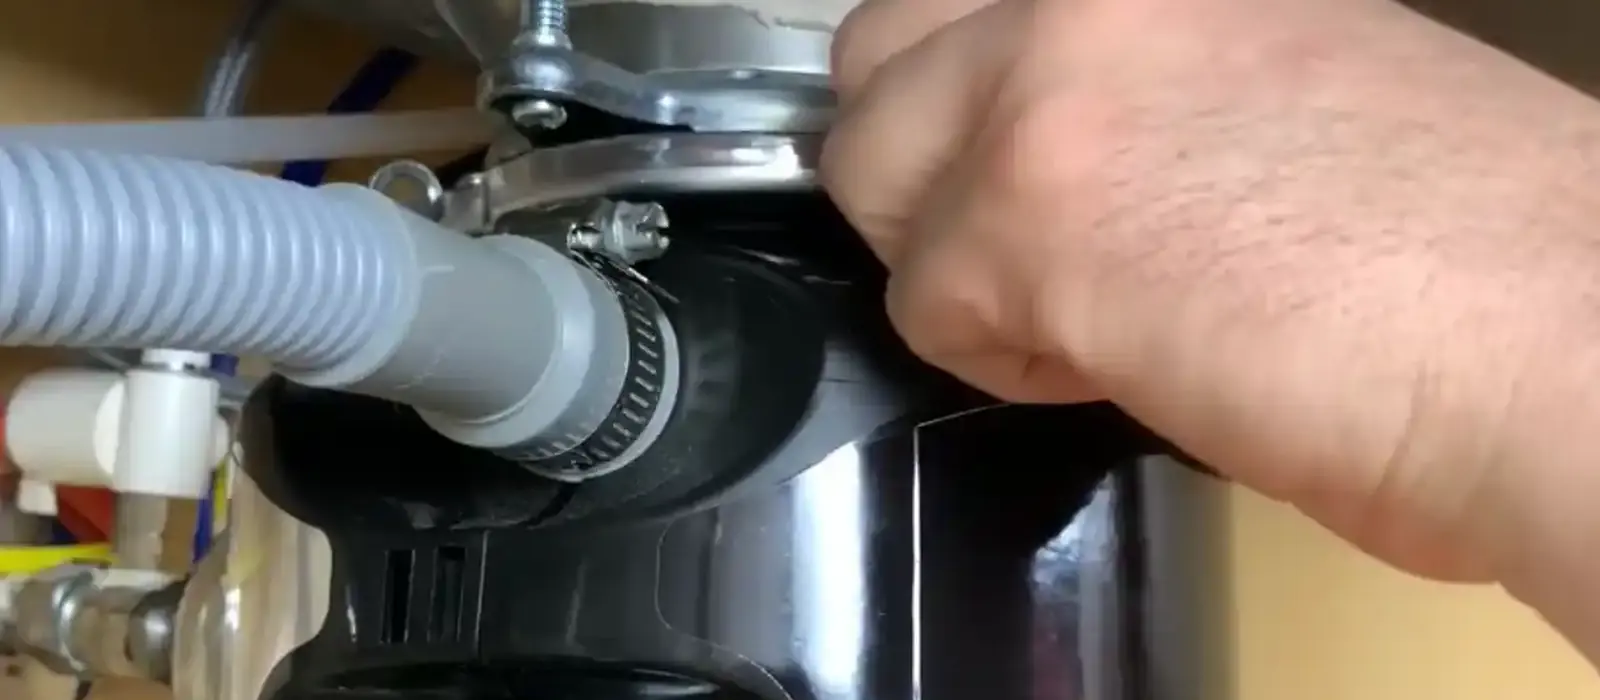
Replace or first install
| Situation | Difficulty | Notes. |
|---|---|---|
| Replace an existing unit with a similar one | Moderate | Same mounting ring and connections. |
| Replace with a different brand | Moderate to hard | New mounting hardware may be needed. |
| Add a disposal where none exists | Hard | Needs an outlet, a switch and a drain change. |
If you are in the third row, consider hiring help. Electrical work and drain modifications carry the most risk.
Before you start
Switch off the breaker and unplug the old unit, or confirm the hardwire is dead with a tester. Turn off the dishwasher. Put a bucket and towels under the sink.
Take a photo of the connections before you take anything apart. The photo is your map for reassembly.
The installation steps
- Disconnect the drain trap and dishwasher hose.
- Support the old unit and release the mounting ring.
- Remove the old unit and clean the sink flange.
- Install the new mounting assembly with putty or gasket.
- Connect the electrical cord or wires per the manual.
- Attach the unit and tighten the ring.
- Reconnect the drain and dishwasher hose.
- Knock out the dishwasher plug if a dishwasher is connected.
- Run water and check every joint.
The step people forget is the dishwasher knockout. If the plug stays in, the dishwasher cannot drain.
Where do-it-yourself jobs go wrong
Leaks at the sink flange are the most common failure. Too little putty or an over-tightened ring lets water seep. Misaligned drain pieces leak at the slip nuts. Forgetting to check the dishwasher connection causes a flood on the first load.
Wiring is the other risk. A hardwired disposal should be installed by someone who knows the local electrical rules. Read the manual and call a licensed professional if you are unsure.
Disposals and valley drains
Homes on septic in Peralta and parts of rural Valencia County should think twice about a disposal. It adds solids to the tank and fills it faster. Ask a septic professional before you install one.
Homes on the village sewer in Los Lunas and Bosque Farms can use a disposal, but grease and fibrous food still clog the line after it. If the kitchen drain is slow, see drain cleaning.
Using it well
Run cold water while it grinds and for 15 seconds after. Avoid grease, bones, coffee grounds, pasta and fibrous vegetables. Clean it with ice and a citrus peel if you like, but the best step is to scrape plates into the trash first.
A disposal that hums and does not spin is jammed. Turn it off, then free it with a hex key from below. Our disposal repair page covers repair.
Tools and parts checklist
- Screwdrivers and an adjustable wrench.
- Plumber’s putty and a bucket.
- The new disposal with its mounting kit.
- A power cord kit if the unit comes without one.
- A new trap and tailpiece if the old ones are corroded.
- A dishwasher drain hose clamp.
Check that the new unit fits the space under your sink before you buy. Larger models are taller and can crowd the trap.
Electrical safety, plainly
Garbage disposals run on household current, and the work happens next to water. Turn off the breaker, then test the wires. Never trust a wall switch to kill the circuit. If your unit is hardwired and you are unsure how to connect it, hire an electrician or a plumber with the right license.
A grounded plug-in cord is simpler than hardwiring for most homes. Make sure the outlet under the sink is protected by a ground fault circuit interrupter if code requires it.
After the install: the first-day checks
Run water first, with the disposal off, and look at every joint. Then switch it on and run it with water for ten seconds. Check again for leaks after an hour and again the next morning.
A small seep at the flange can cause cabinet damage over a few weeks. If you see any moisture, tighten and retest. If it persists, call a plumber before the cabinet swells.
Signs it is time to hire help
Stop and call a plumber if the sink flange will not seat, the old unit is corroded to the drain, or the wiring does not match the manual. A leak that returns after two tries is another sign.
The same goes for a disposal that trips the breaker. That points to a wiring or motor fault, and it is not a project to push through. Our garbage disposal repair crews can finish the job and test the circuit.
A short visit often costs less than a repeat trip to the store and a flooded cabinet. Ask for a clear price first and decide with the facts.
Choosing the right unit
Disposals come in continuous-feed and batch-feed styles. Continuous feed runs while the switch is on and is the common choice. Batch feed runs only with a stopper in place, which adds a safety step for households with small children.
Motor size matters. A small motor handles light scraps. A larger one handles more volume and stays quieter. Look for a unit with sound insulation and a stainless grinding chamber if you plan to keep it a long time.
Cleaning and care once it is running
Run cold water before, during and after each use. Grind small amounts at a time. Occasionally grind a handful of ice cubes to knock residue from the chamber. Avoid putting bleach or harsh chemicals into the unit.
If a bad smell appears, scrub the underside of the splash guard with a brush and dish soap. The smell is usually residue, not a failing motor.
Time and tools: a realistic plan
Set aside a half day for a first attempt. Gather everything before you start, because a trip to the store with the sink apart is a common frustration. Photograph each stage as you go.
If you reach a step that does not match the manual, pause and check. Guessing at a wire or a fitting is how small jobs become large ones.
Rules for the dishwasher connection
The Uniform Plumbing Code (UPC) requires a high loop or air gap on the dishwasher drain so dirty water cannot flow back. Many do-it-yourself installs miss it.
Disposal installation questions
A like-for-like swap is doable. A first-time install needs wiring and plumbing work.
For wiring changes or new drain lines, yes. Ask the Construction Industries Division.
The knockout plug may still be in the disposal inlet.
A few hours for a swap. More for a new install.
Yes. See Belen.